In this article we will introduce you to the JavaScript Blocks Editor for the micro:bit, we will create some simple examples for the micro:bit. The blocks editor makes it incredibly easy to create simple examples with no coding, you can also switch to Javascript and see the code version of the block examples which you create.
The micro:bit has a 5 x 5 LED matrix built in. You can light up multiple LEDs to make patterns or scroll text and you can easily display basic images. You can light up the individual LEDs if you want and also set the overall brightness of them as well.
Get started
Plug in your micro:bit to your computer, you should an extra drive appear. Navigate to https://microbit.org/code/ and click on Lets Code in the JavaScript Blocks Editor section. This is what you are looking for
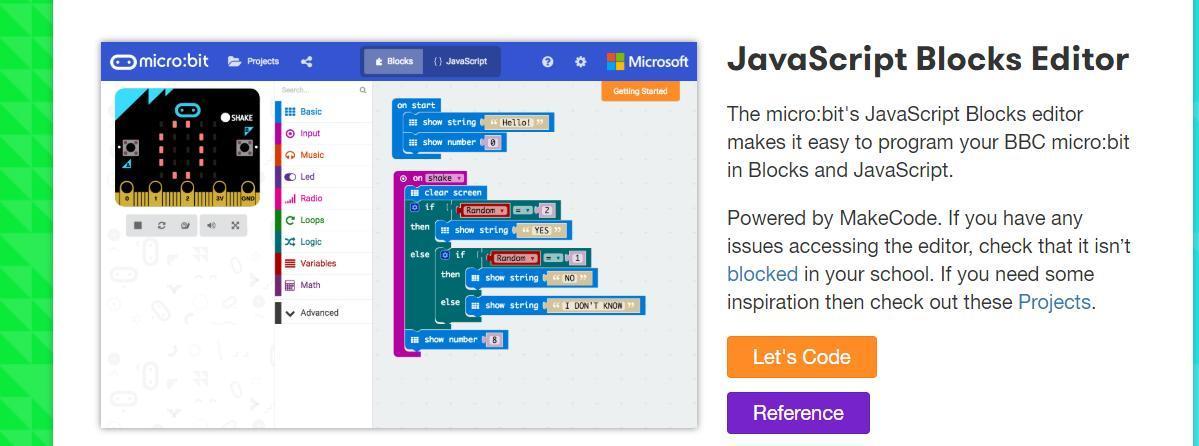
micro:bit code
When the editor appears select the Blocks option, you should see an interface something lilke this
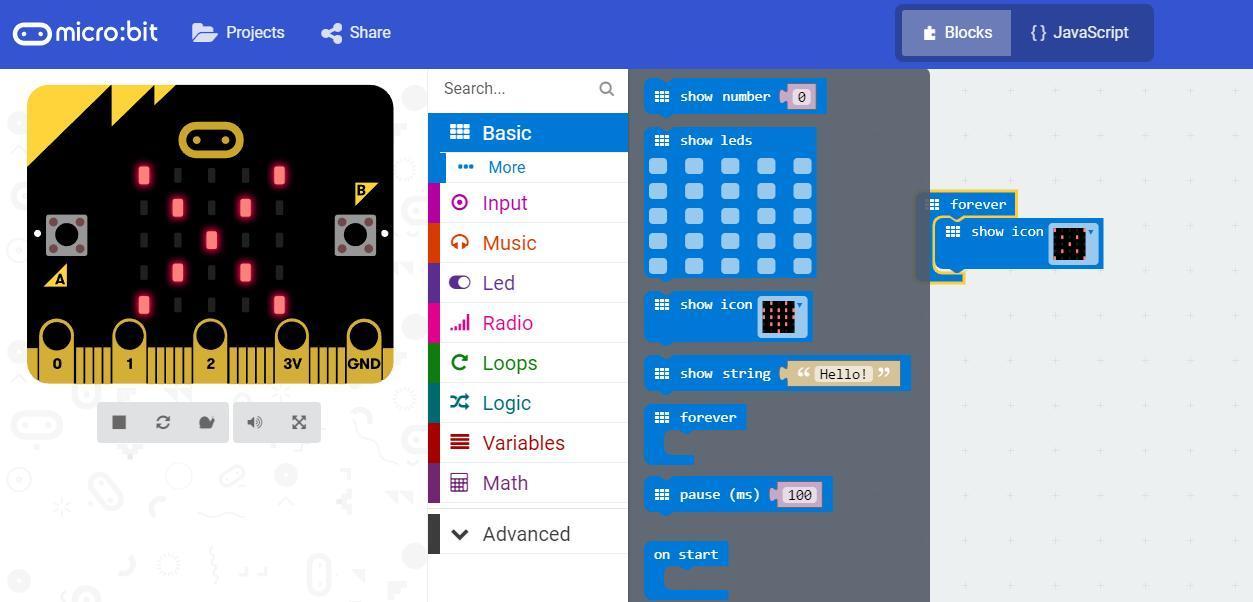
Display an image / light an LED
In the blocks editor open the Basic tab and drag a forever block into the code window, now drag a show leds block and position it inside the forever block you position earlier. Click on the LEDs in the show leds block and choose a selection, you can see this in the image underneath.
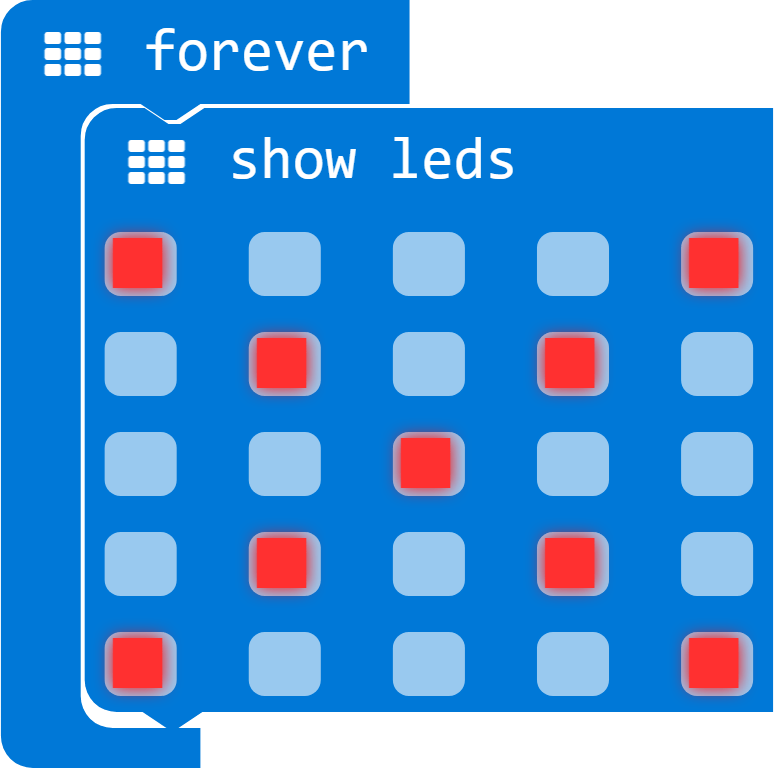
display image on micro:bit
You can simulate this in the editor as soon as you start creating an image it will be displayed in the Micro:bit on the screen.
Click on download and a hex file will be downloaded to your computer, usually in the Downloads folder on Windows systems.
Drag this into the Micro:bit drive that appeared earlier when you connected your device to program device. You should now see the same pattern on your Micro:bit.
Blinking an image
It is simple to make a blinking effect with a couple of new blocks. Now add a clear screen block which can be found in the Basic section you should create something like the image below.
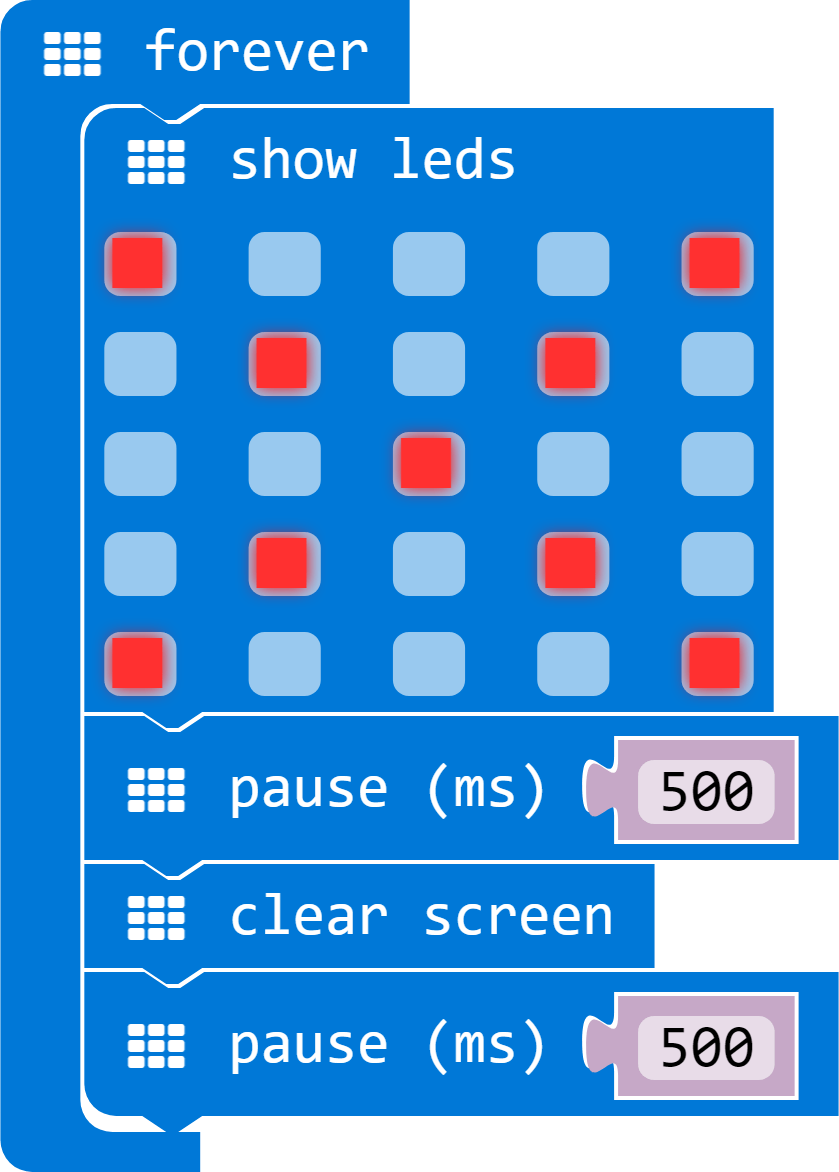
flashing image on a micro:bit
You can alter the rate the LEDs flash by changing the pause values, the shorter the delay the faster the flashing.
Click on Download and follow the process of copying the hex file to your micro:bit to program it
You can also use the clear screen block to achieve a similar affect, here is an example of this.
Simple Animation
You can expand the example above and make a simple animation, the concept is the same you just use more show leds blocks and pause (ms) blocks. Here is an example that I created to show this
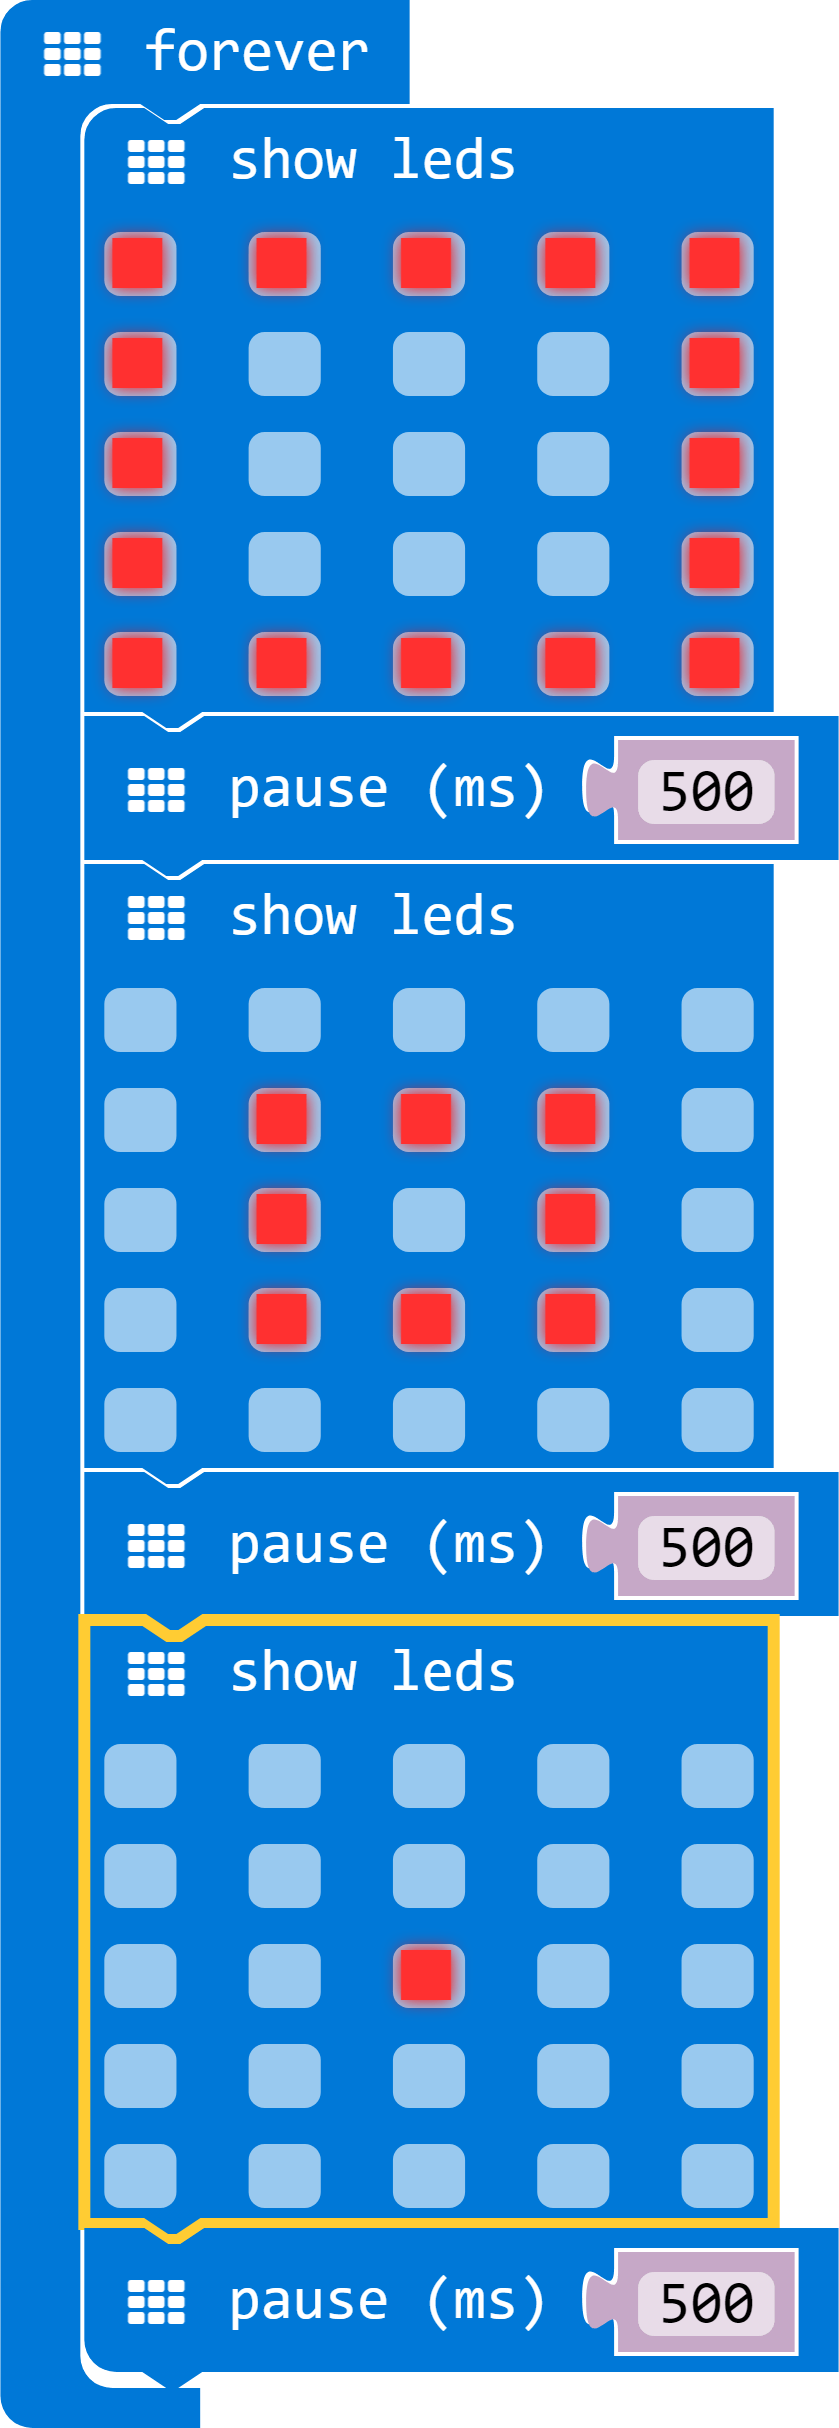
microbit animation
Scrolling Text
There is also a block that allows you to display text on the matrix, you need to open the Basic tab and drag the show string block into the code window. The text will scroll from right to left across the matrix, you can easily change this from the default Hello!. You should see something like this

microbit display string
Download the hex file and copy it to your micro:bit, if you look at the led matrix you should see the text scrolling across it.
Displaying an icon
There are a large amount of icons available for the micro:bit, these icons are basically simple images that are displayed on the led matrix, there is a block to display an icon called the show icon block this is found in the Basic section, drag one of these into the code editor and if you click on the icon you can change the icon that is displayed
icon on micro:bit
A slight adaptation allows you to display more than one icon, you simple need to put a pause between each icon that you want to display. In the example below we use the no and yes icons.
micro:’bit two icons
Download the hex file and you should see image on the led matrix change.
Flash an LED another method
There is another way you can flash an LED on the matrix and that is by using the toggle block, this block uses an X and Y co-ordinate system. So as an example the numbers 0 , 0 will be the led in the top left corner of the matrix.
In the example below we flash the LED in the middle of the matrix and we use the pause block to alter the flash rate.
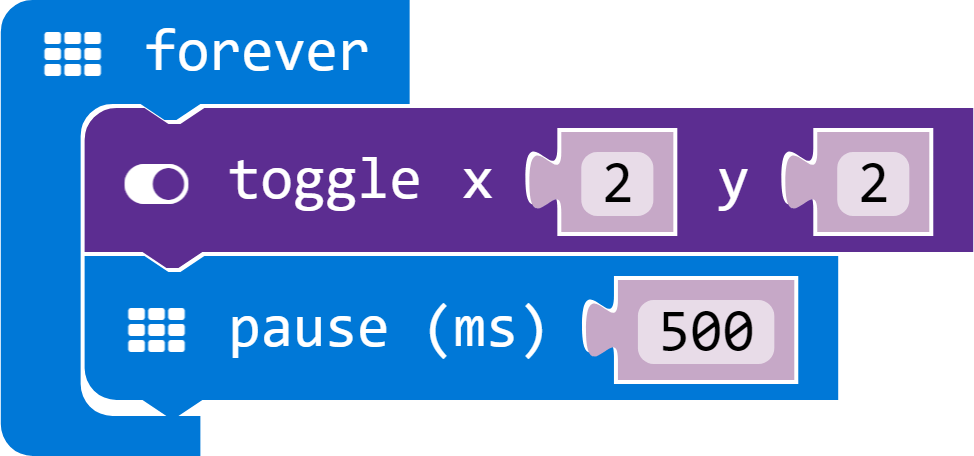
microbit toggle
So there we go we have shown you 6 different ways of displaying icons, images, text and flashing LEDs on your Micro:bit.